How to Get High-Quality Renders in Corona Renderer: A Complete Guide
Introduction
Creating a high-quality render in Corona Renderer requires the right settings, lighting techniques, material workflows, and post-processing adjustments. Whether you’re working on architectural visualization, interior design, or product rendering, achieving photorealistic results depends on proper render optimization. In this guide, we’ll cover the best settings for realistic rendering in Corona Renderer, including lighting, material creation, and post-production techniques to elevate your renders.
1️⃣ Best Settings for Realistic Rendering in Corona Renderer
Corona Renderer offers powerful settings that enhance render quality and realism. To achieve high-quality results, use the following best practices:
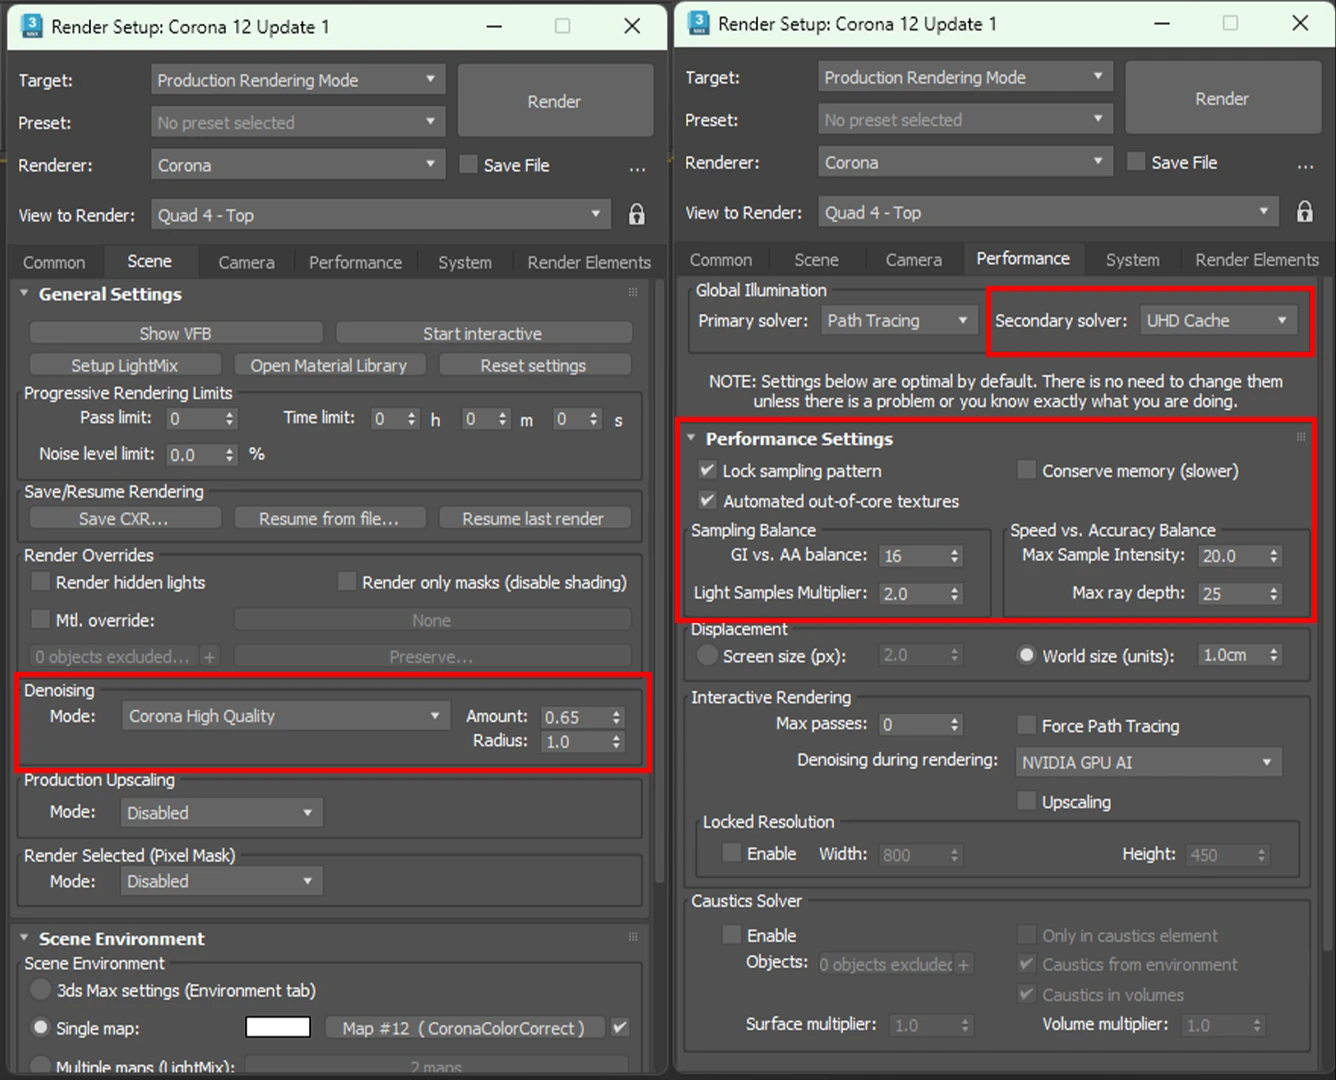
✅ Denoising for Cleaner Renders
Enable Corona High-Quality Denoiser to remove noise while preserving details.
Avoid excessive denoising, as it can blur textures.
✅ Sampling & Noise Reduction
GI vs. AA balance: Adjust for better light calculation.
Light Samples Multiplier: Increase for smoother shadows and noise-free renders.
Adaptive Image Sampling: Helps focus rendering power on noisy areas.
✅ UHD Cache for Faster & Smoother Renders
Use UHD Cache for interiors to speed up rendering and reduce flickering.
Set Precision to High for fine details.
📌 Pro Tip: Always run test renders at lower resolutions to evaluate light balance before committing to final renders.
2️⃣ Lighting Techniques for a High-Quality Render in Corona Renderer
Lighting is one of the most important factors for achieving photorealism. Follow these techniques to enhance realism and depth in your renders:
☀ Corona Sun & Sky for Natural Lighting
Ideal for both interior and exterior renders.
Use Corona Sky with Sun to create soft, realistic shadows.
🌍 HDRI Lighting for Realistic Environments
Use high-quality HDRI maps for dynamic reflections and realistic ambient light.
Adjust HDRI exposure for balanced highlights and shadows.
💡 Artificial Lighting Optimization
Use Corona Light Materials for soft and realistic artificial lighting.
Adjust Color Temperature (Kelvin) to match real-world lighting conditions.
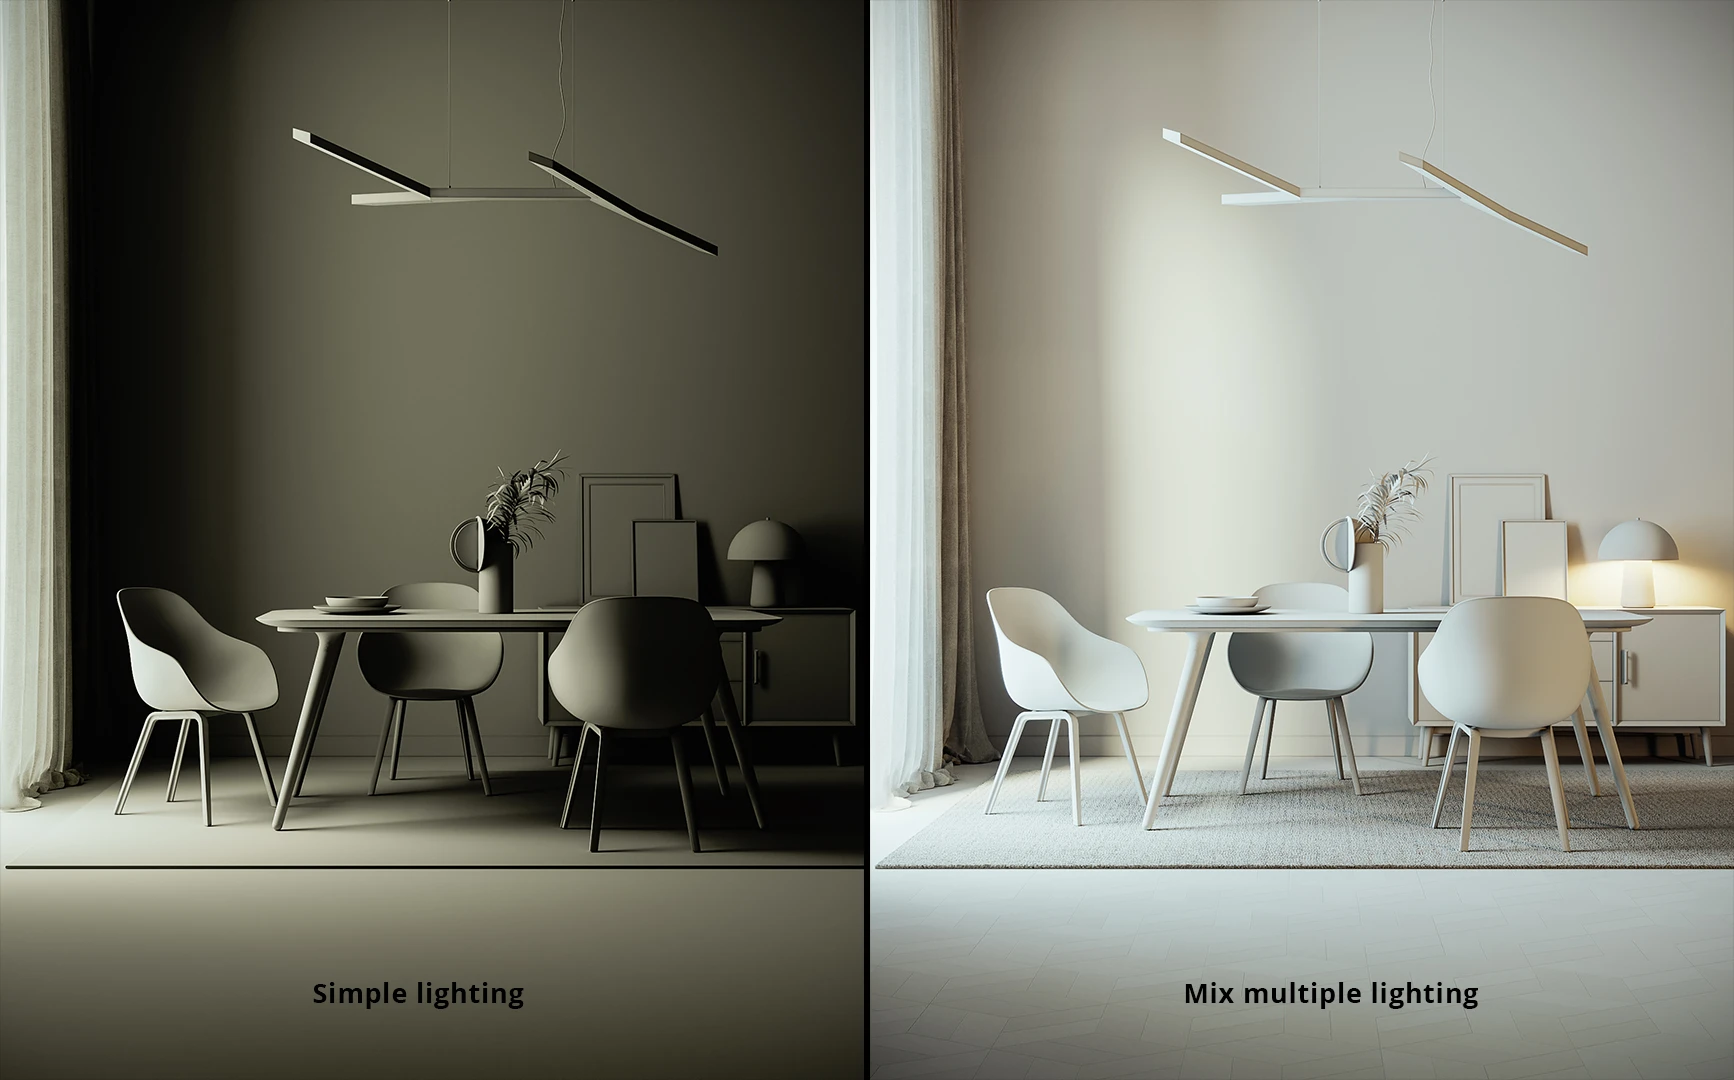
📌 Pro Tip: Mix multiple light sources for natural-looking illumination, instead of relying solely on one type of lighting.
3️⃣ Material & Texture Optimization for Photorealism
Using physically based materials enhances realism and helps achieve accurate reflections, glossiness, and depth.
🎨 PBR Workflow for Realistic Surfaces
Use Corona Physical Material for accurate shading.
Correctly set Glossiness, Roughness, and IOR values.
📌 Texture Resolution & UV Mapping
Use high-resolution textures (4K or higher) for sharp details.
Ensure proper UV mapping to prevent texture stretching.
🔄 Reflections & Bump Maps for Depth
Adjust Reflection Glossiness to create realistic surface reflections.
Use Bump, Normal, and Displacement Maps to enhance material depth.
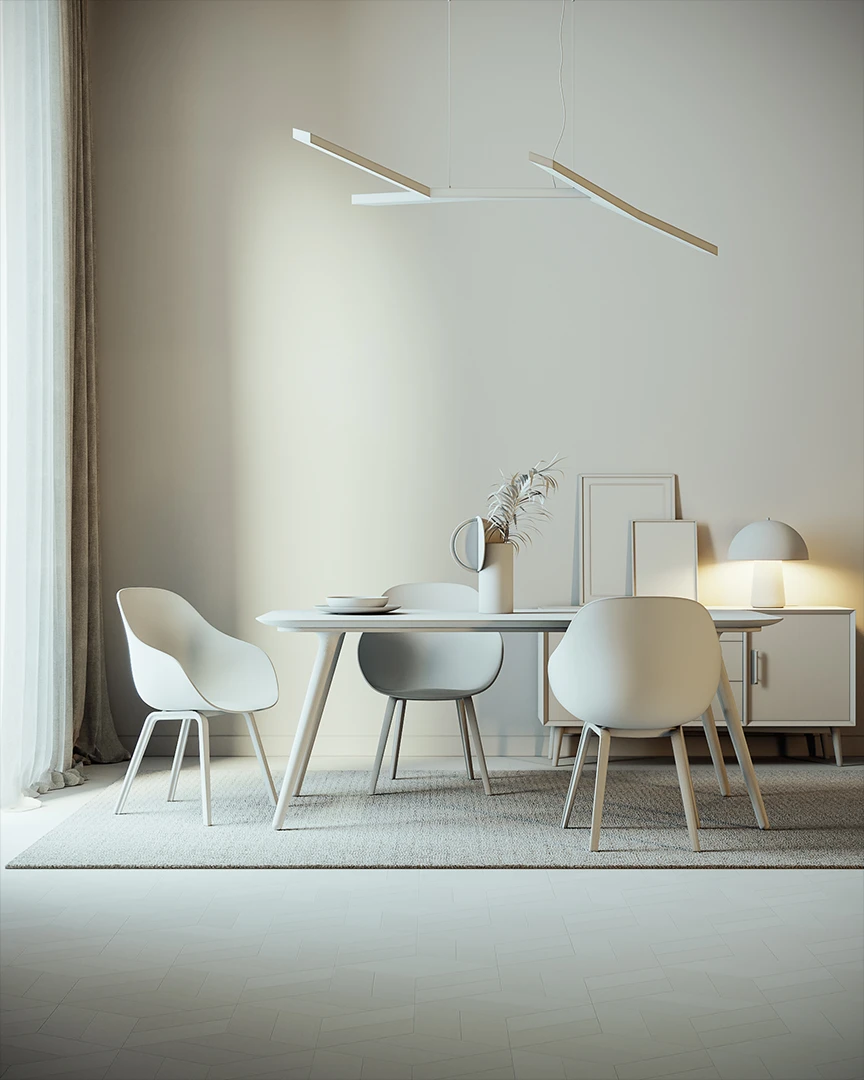
📌 Pro Tip: Avoid overexposing reflections—adjust glossiness maps for a more natural appearance.
4️⃣ Render Optimization: Speed vs. Quality
Achieving a high-quality render in Corona Renderer shouldn’t mean excessive render times. Follow these tips to balance speed and quality:
✅ Lower Noise Threshold to reduce grain without excessive rendering.
✅ Enable Denoising but avoid high settings to preserve detail.
✅ Optimize Light Sampling to reduce noise effectively.
✅ Use Region Rendering for faster testing and previews.
📌 Pro Tip: Increase Light Samples Multiplier for cleaner shadows and a more natural feel.
5️⃣ Post-Processing in Corona VFB
Once your render is complete, post-processing can enhance realism. Use the Corona Virtual Frame Buffer (VFB) for final adjustments:
🎛️ Tone Mapping: Adjust contrast and exposure for balance.
🎨 LUTs (Look-Up Tables): Apply filmic color grading for a cinematic look.
✨ Bloom & Glare: Enhance reflections and highlights for added realism.
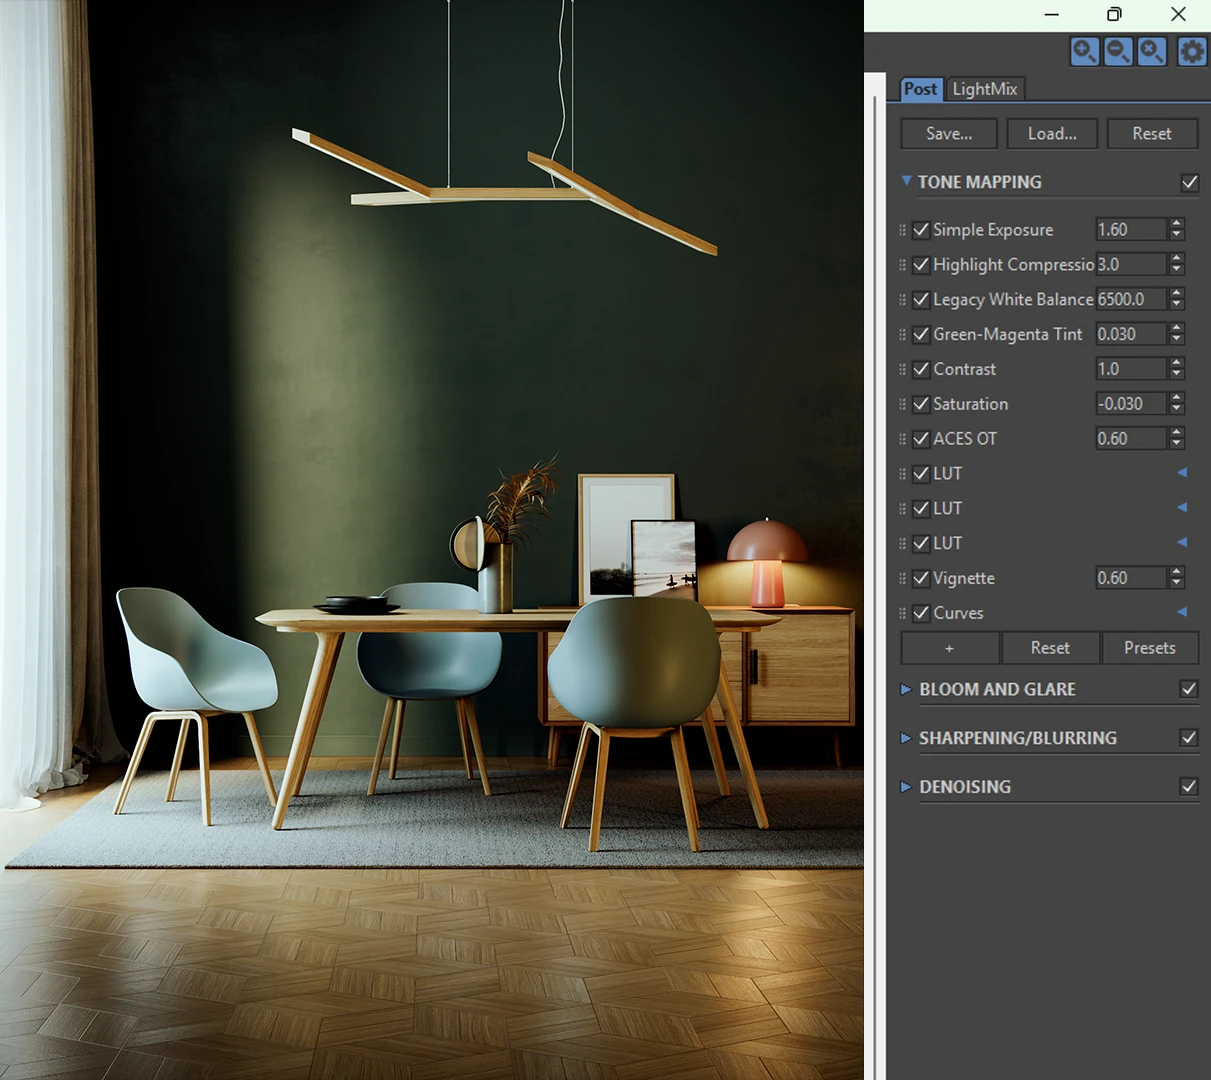
📌 Pro Tip: Use the VFB’s LightMix feature to tweak lighting in real-time without re-rendering.
6️⃣ Common Mistakes & How to Fix Them
❌ Overusing Denoiser
Issue: Blurred textures and loss of detail.
Fix: Lower denoiser settings and adjust noise threshold manually.
❌ Incorrect Gamma Settings
Issue: Washed-out or overly dark textures.
Fix: Use Gamma 2.2 for color maps and Gamma 1.0 for non-color maps.
❌ Poor Lighting Balance
Issue: Flat or unnatural lighting.
Fix: Use a mix of HDRI, artificial lights, and Corona Sun & Sky.
🎯 Frequently Asked Questions (FAQ)
🔹 How can I make my Corona Renderer renders look more realistic?
Ensure proper lighting, material quality, reflection settings, and texture resolution. Use HDRI lighting for natural reflections and adjust exposure levels.
🔹 How do I fix noise in my Corona Renderer render?
Increase Light Samples Multiplier, enable Adaptive Image Sampling, and adjust the Denoiser settings to reduce excessive noise.
🔹 Why do my renders take so long?
Optimize ray depth, LightMix settings, and material complexity. Use UHD Cache for interiors to speed up GI calculations.
🎯 Conclusion
To achieve a high-quality render in Corona Renderer, focus on optimized render settings, realistic lighting, material accuracy, and proper post-processing. Following these techniques will enhance realism, sharpness, and overall quality while keeping render times efficient.
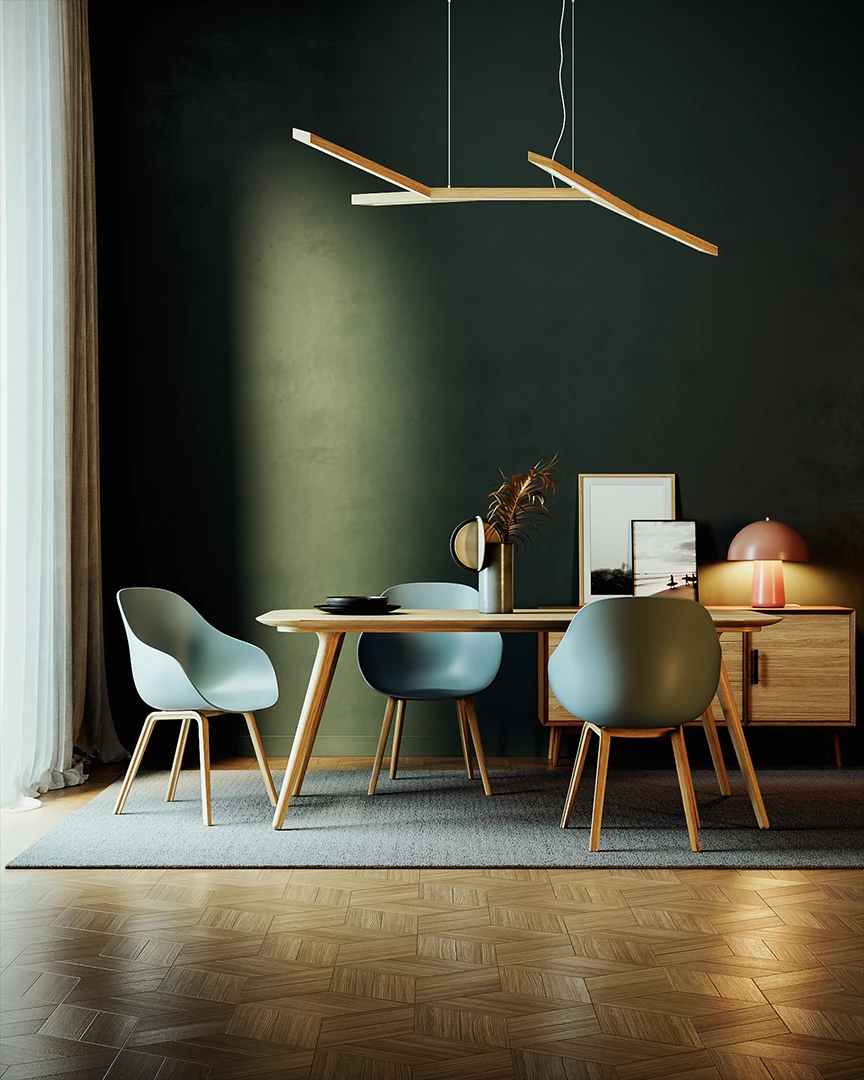
Experiment, refine, and master these settings for photorealistic results in your architectural and visualization projects! 🚀
📌 Related Articles:
